Why the ear stretching may seem scary? Probably, because in most cases it’s a permanent body modification. But exactly that makes the one who goes for it look bold and ultimately creative!
What Is an Ear Gauging
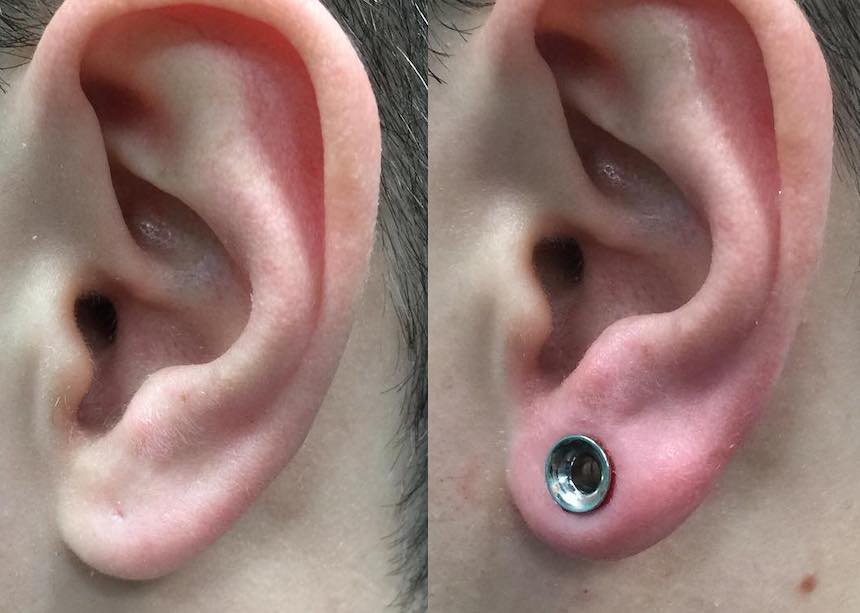
Ear stretching is a particular procedure that makes an ear piercing thicker than the standard one by enlarging the piercing hole. The stretched ears effect is achieved by expanding a healed piercing in order to adapt it to bigger jewelry. Stretching sizes may vary from 1 mm diameter to the size of a plum.
Should You Go for It
Pros
- Earlobe stretching is the easiest way to get a bold look. Gauging is quite simple and less painful compared with common body piercings.
- Stretched ears allow for an almost unlimited jewelry choice. The larger jewelry usually makes you look creative and truly stylish. So, stretched piercing is a really rewarding way to spice up your look.
Cons
- Enlarging ear piercing takes a long time. You would not be able to change the size of the ear hole faster than once in 1-2 months. In order to stretch the ears correctly, you should progress by small steps, by only one size (less than 1 mm) each time with breaks to make your ear adapt to new size in between.
- It is not always possible to go back to a normal ear hole size after stretching. Usually, if the jewelry size exceeds 10 mm (5/16 inches), getting back without the earlobe reconstruction surgery would be impossible.
Ear Stretching Methods
Taping
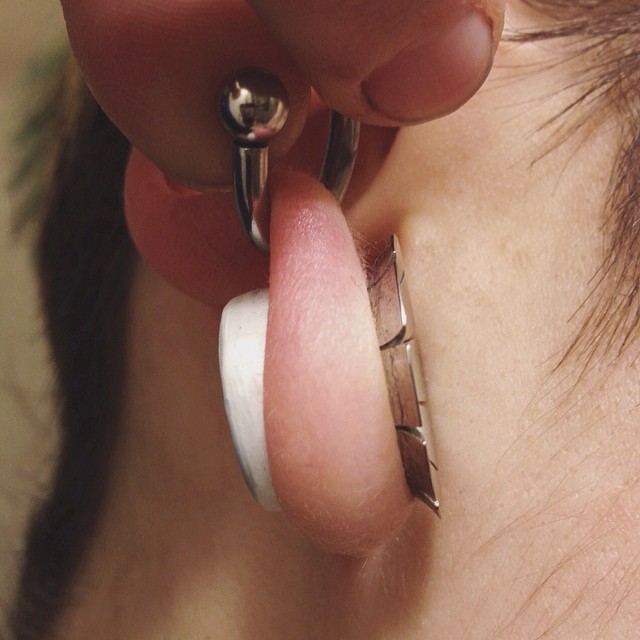
Taping method is least dangerous, but the longest way to stretch your ear piercing.
Stretching tape wrapping is used to go up to 1 inch.
You would need bondage or a PTFE tape to wrap it twice or three times over the plugs. PTFE tape is non-toxic and used in making jewelry. It is quite thin, so the earlobe stretching is performed gradually.
The new tape is applied every day after gentle cleaning of the area. To start you need to wrap a tape twice around the taper. Ensure to not leave any wrinkles in the tape.
Then moisture the skin using the oil or balm. The taper should be inserted slowly. If it requires pressure to push the taper inside the hole – consider taking away a layer of tape.
Slide the taper inside the hole for a while and insert the jewelry. You would need to do two or three extra wraps every 7-10 days to keep on stretching.
The entire process of getting to could take up to 1-2 months, however, the tape should not be reused to avoid contamination.
Tapering
Tapering is the most common way to gauge your earrs.
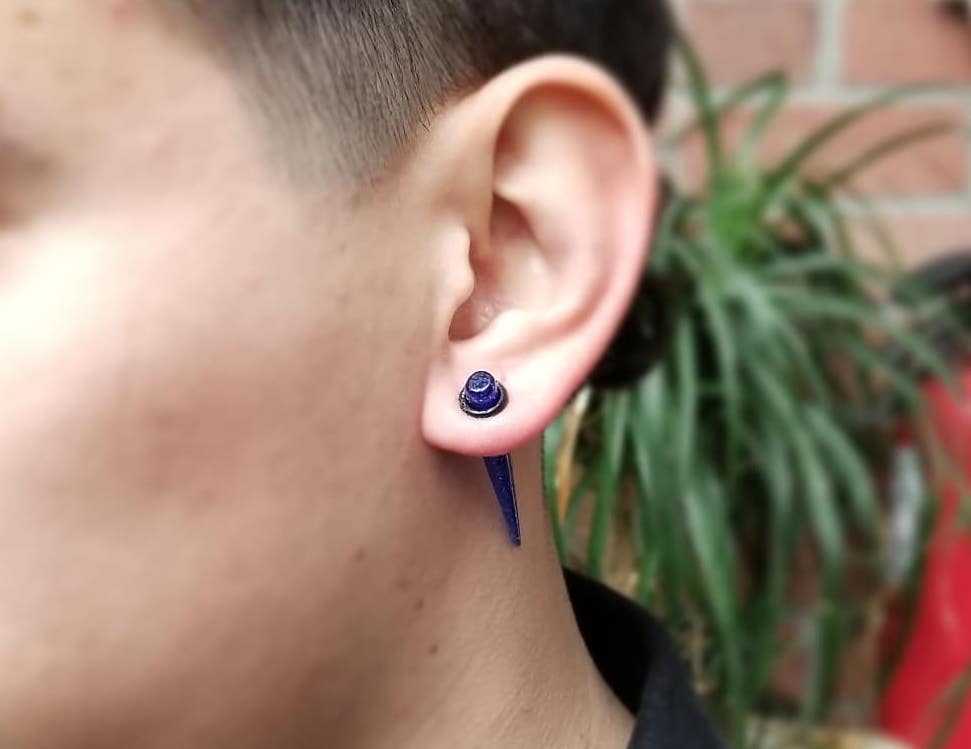
With tapering, you can go from 16g and may achieve the 00g size, which is the biggest one that may go with safe stretching.
The special tool, called taper, is used for this method. It’s a cylinder-like instrument that is thick from one side and sharp from another.
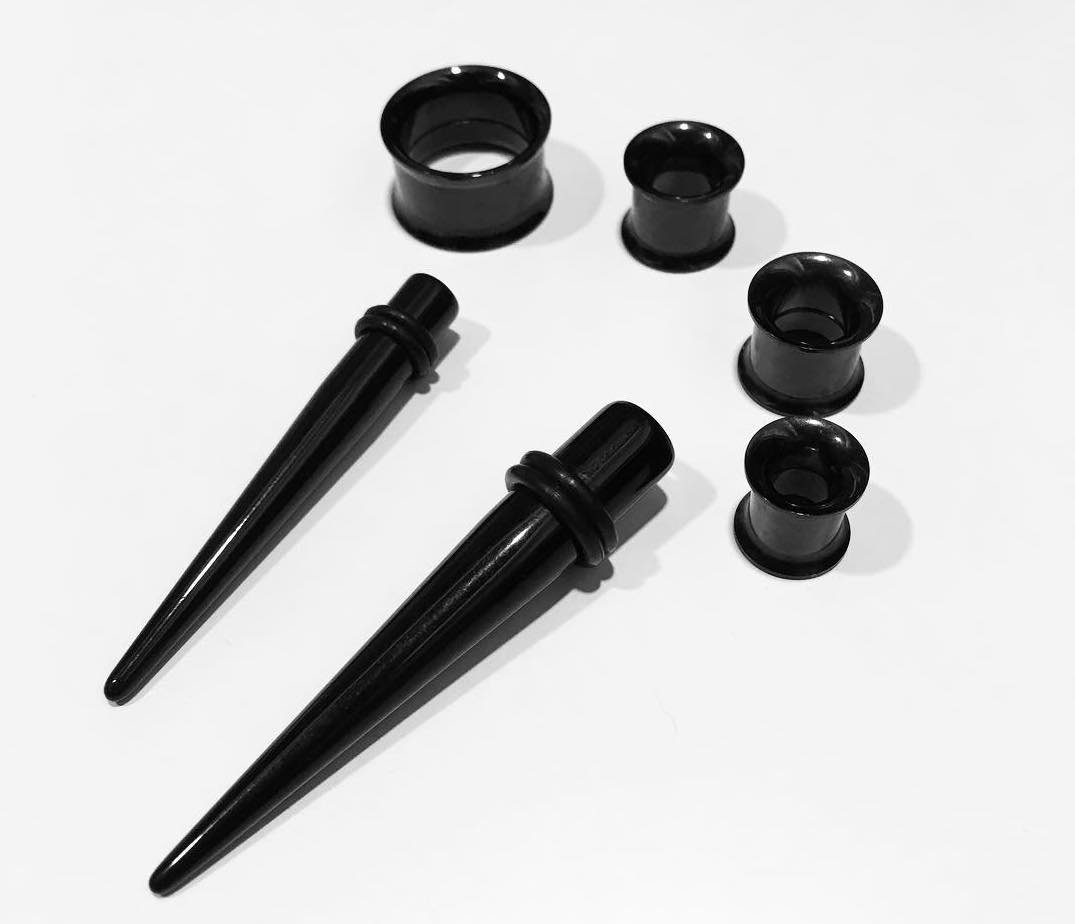
Tapering is a long process, as you need to stretch the ear gradually, each time for a 1/128 or 1/64 of an inch. Mind that the skin could be ruptured if you would try to go for a big size from the start. Thus, it is needed to wait a few months between stretches.
Tapers are not designed for long-wearing. So, they should not be considered as jewelry. They are worn only at the time of ear gauging procedure.
Tapering is performed with the help of ear stretching lube or moisturized ear stretching oil. A taper is inserted into the hole up to its bigger sized end. After a few minutes of stretching and moving the taper forward and backward, the earplug can be inserted.
After a few months, depending on the desired hole size, the same procedure is performed to go bigger. The taper should be of a next gauge size – e.g. if 18 g (5/128’’) was used initially, the following taper would be 16 g (3/64’’).
Weights

This method is performed for gauging your ears by using the weighted jewelry for some period of time.
Weighting may get you to the maximum ear stretching size, which is 00g.
Weight applies only on the healed hole bigger or around ⅛ inches.
The weighted jewelry should be worn for a day, and then the original glass or surgical steel earplugs should be wrapped with PTFE tape once or twice, depending on how the piercing is already stretched. Then, the weighted piece of jewelry is worn again for a day. The whole process should be repeated until the ears would get to the intended size.
Dermal punch
Not recommended method.
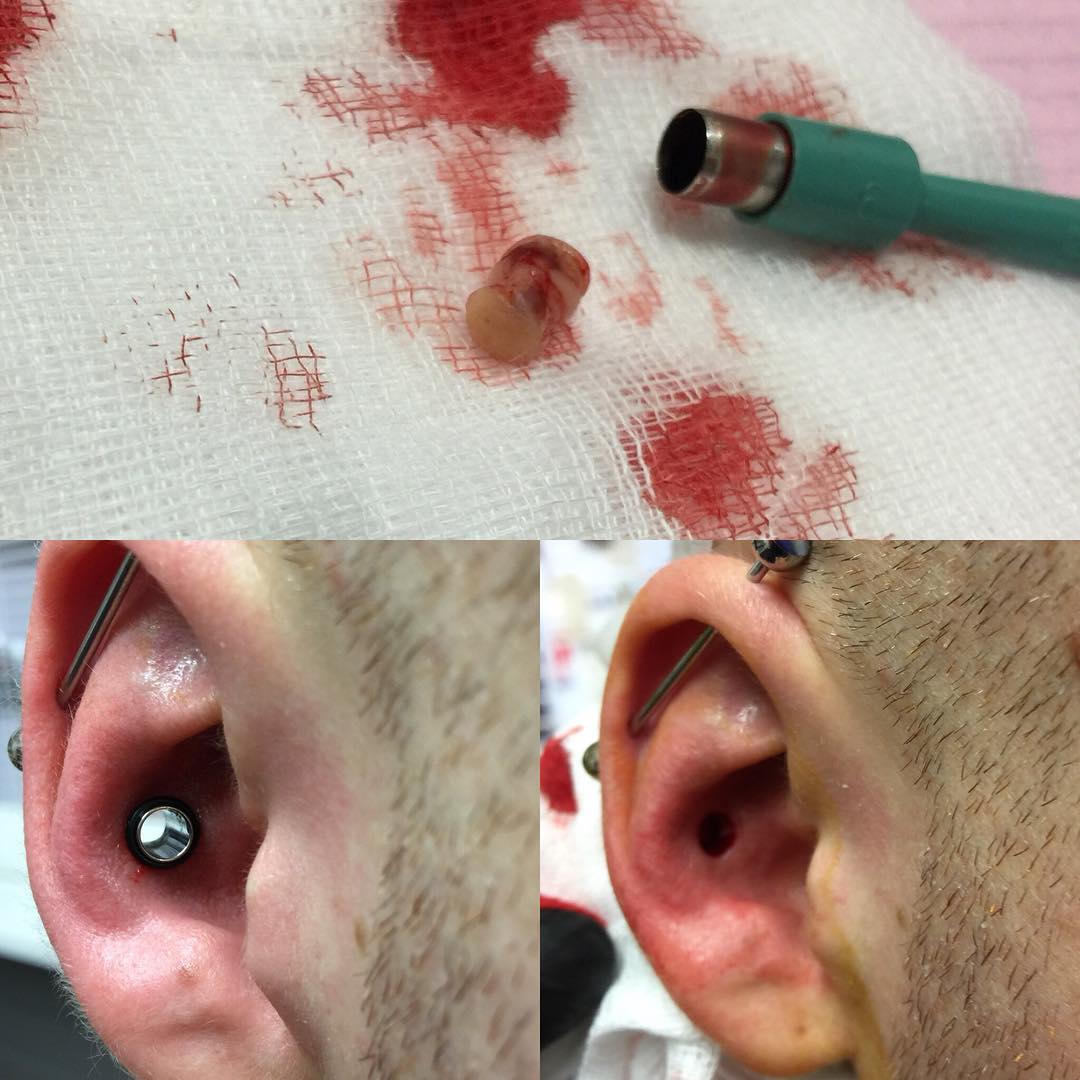
Generally, a dermal punch is a round tool with a sharp edge. It’s used to take a biopsy from the tissue.
It’s typically used for the quick stretching and is mostly applied to cartilage or lip piercings, which are quite difficult to stretch using other methods. However, a dermal punch is far from being completely safe, as it simply removes a substantial piece of tissue with some blood vessels. As a result, it is likely to cause strong pain and bleeding, which may end up in some sort of infection.
The dermal punch should be performed in a professional studio by an experienced piercer only. There is no return from dermal punch, only reconstructive ear surgery may get back initial earlobe/cartilage shape.
Ear Gauge Sizes
Gauge is a measurement tool for a particular size of jewelry when the smallest one is 20 g and the biggest is 00 gauge. The 20 g sized jewelry corresponds to 0,8 mm or 0.03 inches hole. Accordingly, the biggest size of 00 g – 10mm, or 3/8 inches in diameter.
Find below an ear gauging size chart
| Gauge (g) | Millimeters (mm) | Inches |
| 18 | 1.0 | 5/128’’ |
| 16 | 1.2 | 3/64’’ |
| 14 | 1.6 | 1/16’’ |
| 12 | 2 | 5/64’’ |
| 10 | 2.4 | 3/32’’ |
| 8 | 3.2 | ⅛’’ |
| 6 | 4 | 5/32’’ |
| 4 | 5 | 3/16’’ |
| 2 | 6 | ¼’’ |
| 0 | 8 | 5/16’’ |
| 00 | 10 | ⅜’’ |
7 Main Piercing Stretching Rules
Below there are 7 useful ear stretching tips, which would help you avoid any possible complications if you’d like to gauge your ears:
- Go slow. Too fast stretching can cause skin rupture, severe bleeding, blow out and result in other unpleasant side effects.
- Do not go beyond your pain level. While tapering, you should correct the intensity of punching according to the pain level you experience.
- No skipping sizes when stretching ears. Stretching can take some time if performed correctly. Slowly change the size each time. Allow enough time between sizes (1-2 months) and it will make the entire process smoother and quicker in the end.
- Moisturize. Use oils or balm to makes stretching easier and decreases healing time.
- Listen to your body. Some signs, like itching or ear stitching, could signify some kind of infection.
- Use high-quality materials only, such as surgical steel, glass, titanium or gold.
- Use a taper with a long side end, as the short-sized are not stretching the ear, but just pushing them. It can cause a further rupture, blow out or scarring.
Preparing to Ear Stretching Journey
To perform DIY ear gauging at home, prepare all necessary materials in advance.
Balm


Holey Butt’r is the most popular ear stretching balm. It has the same effect as oil. However, some people prefer balm’s thicker structure, as it won’t mess up your working place that much.
Holey Butt’r contains seed and jojoba oils, soy butter, glycerin soya wax and candelilla wax. These ingredients are used to provide a premium care for the stretched earlobes.
Stretching oils


Coconut oil, jojoba or emu oil are the most commonly used ones.
Some may prefer jojoba oil over the coconut one, however, they are all good in fact, as long as they can effectively moisturize the skin and contains Vitamin E to make the tissue elastic.
The only difference they have is the smell, so it’s all up to you. Also, jojoba oil can be more irritating whereas emu oil provides more gentle care. However, jojoba may seem a bit greasy comparing to the light emu or coconut oil.
Stretching kit

Usually, piercing stretching starter kit should contain steel tapers (do not choose acrylic or wood) and ear plugs. The stretching kit combines all necessary materials to perform the stretching procedure correctly. A good kit would contain:
- a set of tapers made from hypoallergenic materials;
- gauges of 9 sizes to perform a stable stretching;
- 9 pairs of individually packaged tunnels and plugs.
Jewelry
The earrings should be of the next stretching size and made from a non-porous material like titanium, steel, glass or gold. The other jewelry types can be used later when stretching is fully completed.
The most popular ear stretching jewelry are plugs, expanders, bone or horn tunnels, ear skins.
They can be made of wood or acrylic, however, these are not recommended materials for the initial piercing. They may be used later when the entire stretching procedure is completed.
How to stretch your ears: 8 steps that you need to take
Let’s go through the most common ear stretching procedure – tapering. When you have prepared the stretching kit, make sure that the area is clean and you washed your hands with antibacterial soap.
- Gently massage your earlobe for a few minutes with the ear balm or oil.
- Sanitize your taper and put a lubricant over it and into your earlobe piercing. The antibacterial spray or sea salt can be used for sanitizing.
- Slowly push the taper inside the earlobe. Apply a little bit of pressure, but stop if you start feeling pain.
- Get the taper stuck for a few minutes. Remember, it’s OK when your ear becomes red and sore, but you should interrupt the procedure if it starts bleeding.
- You can push the taper forward and backward a few times to ensure that the hole is stretched enough.
- Replace the taper with a piece of new size jewelry, gently pushing it into the hole. Put the back of the jewelry on.
- Apply antibacterial spray or deodorant when you are done with jewelry.
- Do not forget to wash your hand in between to avoid bacteria.
If you want to go from the standard hole to the biggest size possible (00 g), you would need up to 18 months for the entire process.
Refer to a gauge size chart with timeline and sizes in order to learn what breaks you have to make in between stretches:
| 16g to 14g | 1 month |
| 14g to 12g | 1.5 months |
| 12g to 10g | 2 months |
| 10g to 8g | 3 months |
| 6g to 4g | 3 month |
| 4g to 2g | 3 months |
| 2g to 0g | 4 months |
| 0g to 00g | 4 months |
Aftercare
The most important part of the ear stretching aftercare procedure is
- Cleaning
Do not remove the jewelry for the first time (week) after the initial gauging procedure to clean it. However, do sanitize the area with aftercare products such as an antibacterial spray twice a day.
In one week, when the gauged ears are healed, use sea salt to soak your earlobes again twice a day. Dip the ears into the salt solution and let them soak for a few minutes. Repeat the cleaning for a few weeks after each stretching.
- Massage
Such a procedure prevents the crusty piercing and breaks down the scar tissue.
To massage your ear, take the plug out (but only in a week after a stretching procedure). Repeat the massage during the first couple of months every night about 3-5 minutes. Do it once in a few days after healing.
What to Avoid
- Do not try to shortcut the earlobe stretching procedure. Perform the process slowly and allow the necessary breaks in between.
- Do not touch the area with dirty hands to avoid the bacteria spread.
- Do not remove the jewelry for the first week after stretching procedure.
- Avoid getting stretched over 4g (3/16’’) unless you want to have it forever.
- Do not use the wrapping tape more than once, to prevent infection.
- Never wear the taper as jewelry, it’s not designed for that purpose.
- Do not use lubricants, such as Vaseline.
- Avoid using double flared plugs.
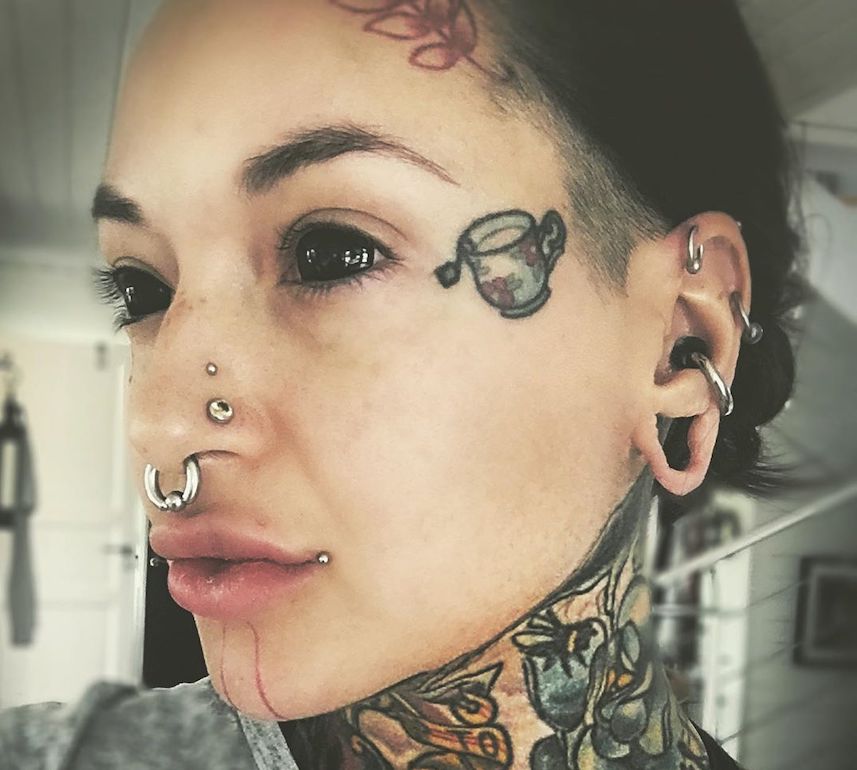
What Could Go Wrong
- Shrinking. It is caused by too quick stretching. When the earlobe skin is stretched too fast, it may lose a round shape and shrink down, closing the hole. When your ear shrinks that way and naturally heals it’s a point of no return, as it won’t get back to its original shape unless you go for reconstructive surgery.
- Gauge blowout. If you overstretch your ear or perform the procedure too quickly, you may blow some tissue at the back of the piercing, and blowouts appear. The fistula (the content of a stretched hole) goes out and creates a flesh lip. Such ear stretching blowout is not only unattractive but also may cause some damage or permanent disfiguration of an earlobe.
- “Catbutt”. It is another result of fast stretching. If your break between stretches is not long enough, then your earlobe may get wrinkled. Such effect reminds a cat’s butthole.
- Infection. Like any other body modification, gauged ears are exposed to many infections. You can identify that something has gone wrong when you have particular symptoms, for example, your piercing hole is itching, swelling, bleeding or if it’s painful. In these cases, I recommend to go back to a smaller jewelry size and perform comprehensive aftercare. If the symptoms are not gone in a week, you would need to consult with a doctor to exclude further complications.
FAQ
- How big can you stretch your ears before its irreversible?
Skin stretching largely depends on individual characteristics. Some people would generalize the stretching size to 4 gauges (5 mm) as a ‘the point of no return’.
- What is the largest gauge you can stretch your piercing?
The largest ear gauging size is 00g “double zero gauge”, which is equal to ⅜ inches.
The safest biggest size is 4g, equal to 3/16 inches, as it would generally allow you to get back to the original piercing hole size.
There are also some extreme and dangerous cases of ear stretching up to 000g, however, I strongly against such body modifications, as it will most likely irreversibly destroy your earlobe.
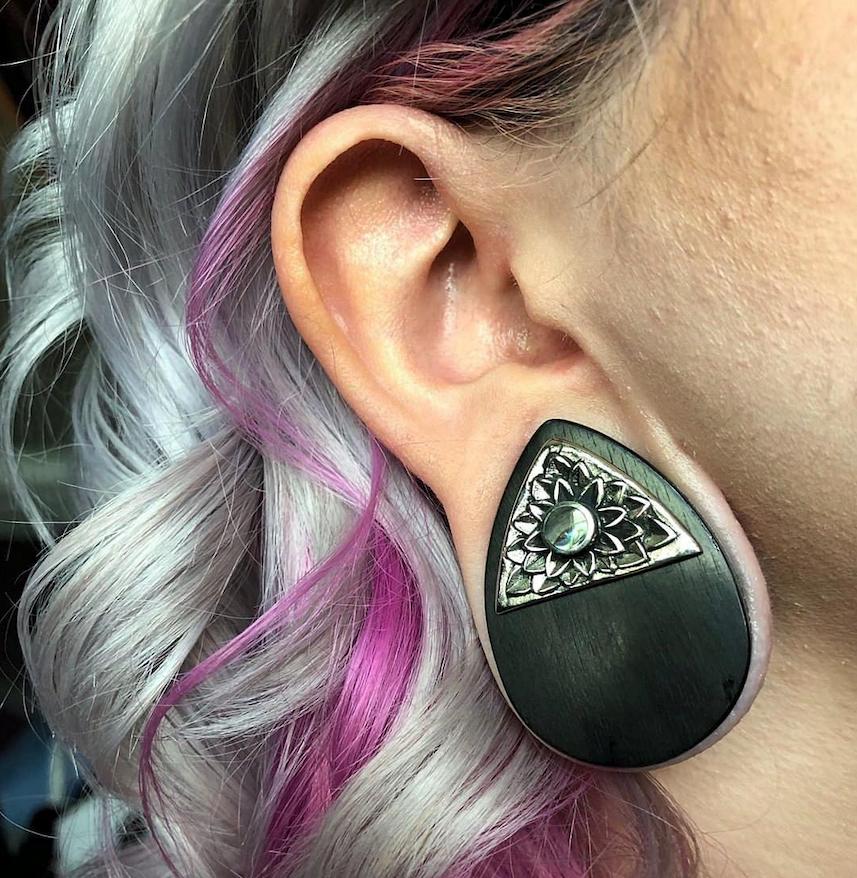
- Is It Painful?
While in theory, it hurts less than original body piercing, the skin stretching is going to cause some pain. However, the pain level largely depends on your individual characteristics and on the particular part of the body you are stretching.
- For how long should you wait to start stretching your ears?
You can start stretching once the piercing wound is properly healed. If you have a freshly pierced earlobe, allow it 1 or 2 months to recover.
- What is the safest ear stretching method?
The bondage tape is quite a safe way for ear stretching. Its advantage is that it’s thin enough to do stretching and wide enough to go over the plugs.
- What size gauge do you start with?
For the gauged ear piercing, always start with the smaller gauge (16g to 14g) and go slowly for further stretching.
- For how long to wait between stretches?
It depends on the individual characteristics of your skin, but usually, the breaks between stretches are from 1 to 4 months. (Refer to the table above)
- How long does it take for gauges to heal?
Generally, you need to wait at least 3-4 months before gauging the fresh plug piercing, after it’s initially done. Then, you’ll have to take breaks of at least 1 month between other 1-sized stretches.
- How long does it take to gauge ears?
It depends on the size you want to achieve. Usually to gauge ears for couple mm, you have to wait at minimum 6 weeks. If you want to go straight from 16g to 00g, allow 18 months at least for the entire stretching.
- For how long do you leave tapers in before putting plugs in?
As tapers are designed only to stretch the earlobe, you should put in the plugs in your gauge piercing when you feel that the ear is gauged enough. Remember you should not wear tapers for a long time. Thus, remove the tapers as soon as they can be easily pushed forward and backward. It can take from few minutes to few hours, depending on how elastic your ear tissue is.
- How to reduce gauge of a piercing?
Earlobe gauging is very individual and there is no universal recipe on how to close stretched ears for everyone.
Start using slightly smaller plugs, and your skin will adapt to a new size over time. Reduce your plug size by 1 size and wear it for about 3 weeks. Repeat the procedure until you get to the desired size.
- What to do if you don’t like your enlarged piercing hole anymore?
In case the hole is smaller than 10 mm in diameter you may try reducing the plugs’ size, each month by 1 mm. However, in most cases, the stretched ears are not going to get to their original shape back and close. If so, you would need to go for ear reconstructive surgery.
- How to put tunnels in your ears?
After washing your hands, fold a tunnel from the top and from the sides to the middle. Then insert it into the earlobe hole, and it will expand to fit your piercing.
- What tape do you use to stretch ears?
You may use bondage, PTFE or the Teflon tape to wrap the plug over.
- How to stretch ears without tapers?
There are some alternative methods, such as taping, weighting, or dermal punch.
- What piercings could be stretched besides earlobe?
Sometimes people stretch their cartilage, nose or lip tissue.
- How to stretch a nose piercing?
Tapering or dermal punch are used for nose stretching. The procedure is similar to the earlobe one.
- How to stretch other cartilage piercings?
The procedure reminds those of earlobe, but you have to remember that the cartilage tends to close quicker and it leaves a scar tissue around the piercing. Cartilage stretching also may be more painful and time-consuming, meaning that you would have to allow longer breaks in between stretches.
- Where can I get gauges done?
Gauge your ears in a trustworthy piercing studio by a professional. However, if you feel you have enough expertise, you may DIY at home using the above-provided ear stretching guide.
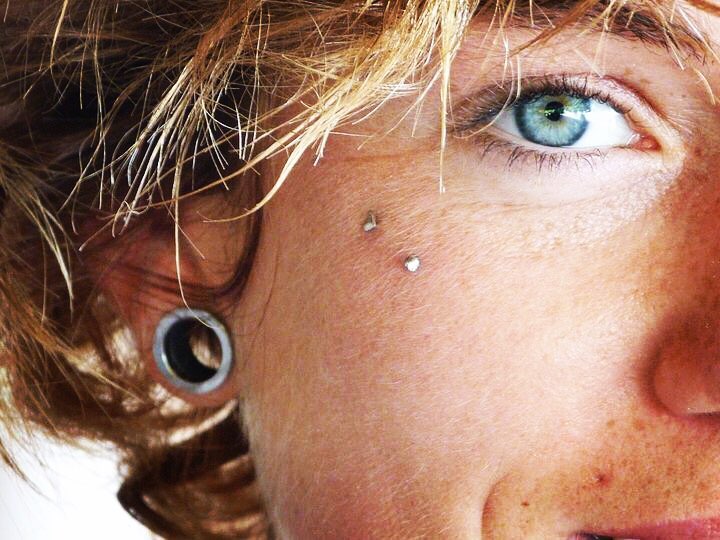
- Do gauged ears look good for men and women?
Yes, you will have a bold look. See some photos below.


- What videos should I watch for more information?
- What videos should I watch for real-life piercing enlarging experience?
https://www.youtube.com/watch?v=z51Ss_dR1iw


